
Tip & Trick
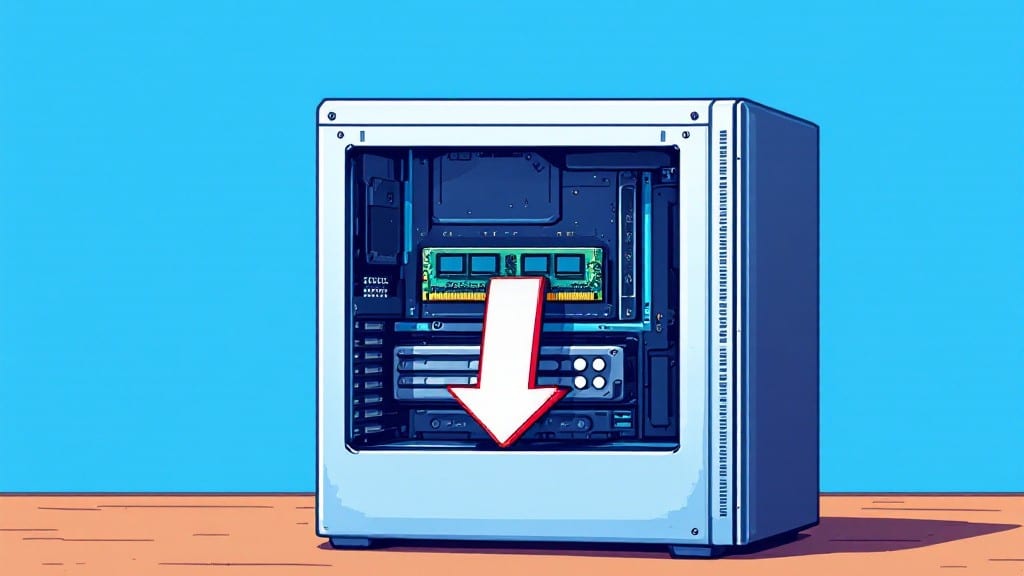
Installing RAM in a desktop PC is easier than you think—no special tools needed, just patience and a steady hand. ✨ I’ve installed RAM in everything from my uncle’s 1998 Pentium II to modern gaming rigs, and the process hasn’t changed much beyond the clips getting a little stiffer.
The key is taking your time with the slots and not forcing anything.
Before you start, power down your PC and unplug it completely—static electricity is the enemy here. You’ll need your RAM module (check compatibility with your motherboard first) and maybe an anti-static wristband if you’re extra cautious.
Pop the side panel off, locate the RAM slots (they’re usually near the CPU), and notice the small notch on each module—this aligns with a groove in the slot. Never force the RAM in; it should click into place with gentle pressure.
Once seated, the clips on either side will lock automatically. Boot up your PC and enter BIOS (usually by pressing Del or _F2_ during startup) to confirm the RAM is detected.
If Windows doesn’t recognize it right away, restart and check—sometimes a simple reboot fixes it. You’ll know it’s working when your system feels noticeably snappier, especially with multiple modules.
Troubleshooting is simple: if the RAM isn’t detected, reseat it firmly or try one module at a time. Overheating or instability? Check your motherboard manual for supported speeds.
And here’s a pro tip—if you’re upgrading, match the speeds (like 3200MHz) for best performance. Now go ahead and give your PC the memory boost it deserves.
📚 In This Guide
- What you need
- Instructions
- Tips and common mistakes
- Wrapping up and next steps
What you need
- ● RAM module(s): Compatible with your motherboard (check specs for type: DDR4, DDR5, etc., and capacity like 8GB, 16GB, etc.).
- ○ Anti-static wrist strap (optional but recommended): Prevents static shocks that could damage components. A $5 alternative is touching the metal part of your case before handling RAM.
- ● Phillips-head screwdriver (flathead if your case has thumbscrews): For removing the side panel and securing the RAM.
- ● Your desktop PC: Unplugged and powered down, with the case open (or ready to open).
- ● Check your motherboard’s manual or manufacturer’s website for RAM slot compatibility (e.g., dual-channel pairing).
- ● Ensure your power supply is unplugged to avoid electrical hazards. 🚨
- ● Clear a well-lit workspace with room to maneuver—no dimly lit basements!
- ● Compressed air: Gently blow out dust from RAM slots and heatsinks.
- ● Thermal paste (if reapplying CPU cooler): Not needed for RAM, but handy if you’re doing a full upgrade.
- ● Magnifying glass: Helpful for spotting tiny notches in RAM slots.
Step-by-step instructions for installing RAM in a desktop PC
Here's how I've installed RAM hundreds of times—no tools, no stress, just smooth clicks.
🔧 Step 1: Power Down and Ground Yourself
Shut down your computer completely and unplug the power cable from the back. I always hold the power button for 5-10 seconds after unplugging to fully discharge any residual power in the motherboard—this prevents static electricity from damaging sensitive RAM modules.
Touch the metal part of your computer case or a grounded surface to discharge any static buildup. Your RAM is now ready for installation. If you're working on a carpeted floor, consider touching the case multiple times to ensure you're properly grounded.
🔧 Step 2: Locate and Open the RAM Slots
Open your computer case by removing the side panel screws (usually 2-4 thumbscrews). Slide the panel off gently—some cases have magnetic closures that make this easier. Once open, find the RAM slots on the motherboard; they're typically long, rectangular slots near the CPU, often colored differently from other connectors.
Each slot has a small clip on the far end. Push this clip outward to open the slot—you'll hear a soft click when it's fully open. This ensures the RAM module can slide in smoothly. If the clip doesn't move easily, don't force it; check for any obstructions or debris in the slot.
💡 Step 3: Align and Insert the RAM Module
Take your RAM module and align it with the slot at a 30-degree angle. The notch on the bottom of the RAM should match the missing tab in the slot—this ensures proper orientation. If the notch doesn't align, flip the module over and try again.
Once aligned, press down firmly but steadily until the module clicks into place. You'll feel a slight resistance before the clip snaps back into position, securing the RAM. If it doesn't click, the module isn't fully seated—press down again until you hear the sound. Never force it; if it still won't go in, double-check the alignment.
⏰ Step 4: Verify Installation and Close the Case
After inserting the RAM, close the side panel of your computer case and reconnect the power cable. Power on your PC and enter the BIOS (usually by pressing Del, F2, or F12 during startup—check your motherboard manual if unsure). Look for the RAM information under the "Memory" or "System Information" section to confirm it's detected.
If the BIOS doesn't recognize the RAM, power down immediately, reseat the module, and check for any bent pins on the slot or module. Most modern motherboards support up to 128GB of RAM, but always verify compatibility with your specific model. Once confirmed, you're ready to enjoy the performance boost!
Tips & tricks for stress-free RAM installation
Here's what I've learned from installing RAM hundreds of times—these little tricks make all the difference between a smooth process and a frustrating one.
Static Electricity Protection: I can't stress this enough—static electricity is the #1 enemy of RAM modules. After unplugging, hold that power button for those 5-10 seconds and touch the case multiple times, especially if you're working on carpet. Between us, I've seen perfectly good RAM fail because someone skipped this step. If you're really worried, work near a grounded metal surface or even wear an anti-static wrist strap.
RAM Slot Inspection: Before inserting your RAM, take a quick look at the slot—you should see a small clip at the end that opens outward. If this clip feels stiff or won't open completely, gently wiggle it or check for any dust/debris in the slot. I've had to clean out tiny bits of lint that were preventing the clip from opening properly. A can of compressed air works great for this if you have one handy.
Angle Matters: That 30-degree angle in Step 3 isn't arbitrary—it's what allows the notch on your RAM to properly align with the slot. I've seen people try to force it straight down, which can bend the pins on either the RAM or the motherboard. If you feel resistance beyond the initial push, stop immediately and recheck your angle. Think of it like opening a stubborn jar—you need to find that sweet spot where it wants to go.
Verification Hack: After installing your RAM, don't just assume it's working—actually verify it! Most motherboards show RAM information during the POST (Power-On Self-Test) before Windows even loads. If you don't see anything about memory size or type, you'll need to enter BIOS (usually by pressing Del or F2 during startup). This simple check saves hours of frustration later when you realize your new RAM wasn't actually installed correctly.
Pro Tips for Install Ram In A Desktop Pc
- Here's what I've learned from installing RAM hundreds of times—these little tricks make all the difference between a smooth process and a frustrating one.
- Static Electricity Protection: I can't stress this enough—static electricity is the #1 enemy of RAM modules.
- RAM Slot Inspection: Before inserting your RAM, take a quick look at the slot—you should see a small clip at the end that opens outward.
Frequently asked questions
Got questions about installing RAM? You’re not alone! Here are answers to the most common concerns—so you can upgrade like a pro without breaking a sweat.
Do I need to turn off my PC to install RAM?
Always power down your PC and unplug it before opening the case. Static electricity or accidental power surges can fry your RAM or motherboard. Safety first—no shortcuts!
What if my RAM slots don’t match the stick’s notch?
If the notch on your RAM stick doesn’t align with the slot’s notch, you’ve got the wrong slot. RAM slots are keyed to prevent damage—just try the next slot. Most motherboards have color-coded slots (e.g., black/white) to guide you. Pro tip: Check your motherboard manual for the correct pairing if unsure!
Can I use old RAM with new RAM?
Yes, but performance may suffer. Your PC will default to the slowest RAM’s speed and specs. For best results, match the type (DDR4/DDR5), speed, and voltage. If mixing, place identical sticks in slots 1 & 3 (or 2 & 4) for dual-channel mode. Warning: Mismatched RAM can cause instability—test thoroughly!
What do I do if my PC won’t boot after installing RAM?
Stay calm—this happens! First, reseat the RAM (remove and reinsert it firmly). If that fails, try one stick at a time in Slot 1. If it still won’t boot, check for bent pins on the motherboard or RAM. Pro tip: Listen for beeps—your motherboard might signal errors via its manual’s beep codes.
Do I need thermal paste for RAM installation?
Nope! RAM doesn’t need thermal paste—it’s designed to regulate its own heat. Only CPUs and some high-end GPUs require paste. Just ensure your RAM has proper airflow in the case. Bonus: Dust your RAM sticks with compressed air before installing for better cooling!
Wrapping up and next steps
You’ve just tackled one of the simplest yet most rewarding PC upgrades—installing RAM without breaking a sweat! 🎉 With patience and the right steps, you’ve successfully boosted your desktop’s performance, all while keeping your tools to a minimum. Now that you’re confident, why stop here?
Your next logical step? Benchmark your new setup—run a quick speed test to see the difference! Or, if you’re feeling adventurous, explore other upgrades like a faster SSD or cooling solution. Every small change brings you closer to the ultimate gaming or productivity machine. Keep building!